How to Stop Automatic Updates on Windows 10
On Windows 10 it always updates the system even if you are not looking. They are quality updates that are meant to improve the performance, stability, and security of your device. But the same updates can affect your device in counter-ways. As whenever an update strikes, users need to restart their devices and thus affecting your day to day work regime. But with Windows 10, you get to control or stop the automatic updates and perform manual updates whenever required. And, this could be done using the Group registry and Privacy policy.
Here we will be discussing the ways using which you can control the Windows 10 updates on your device:
So, let's know how to stop a Windows 10 update.
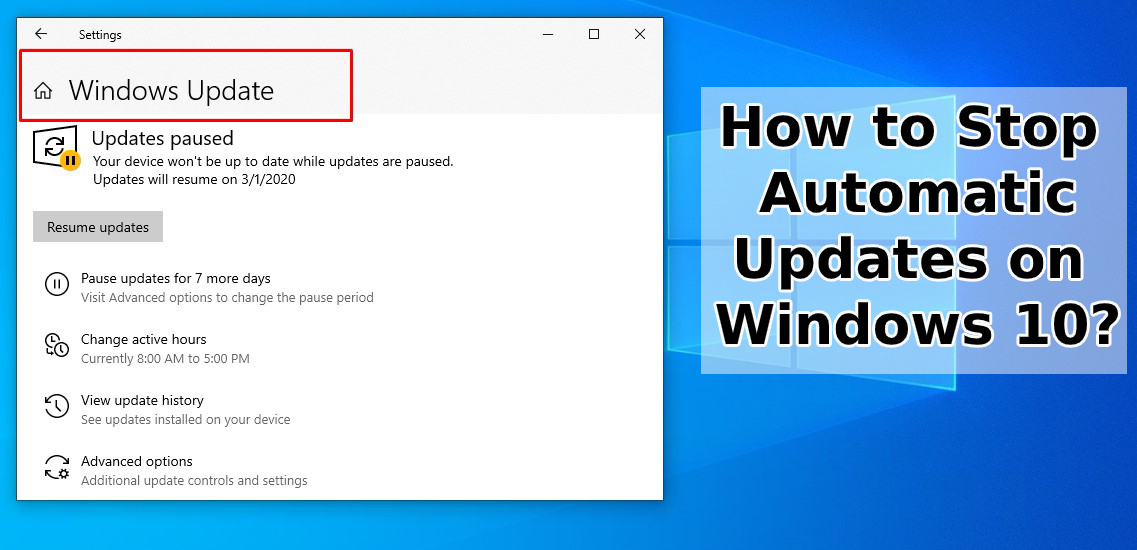
Disabling updates from the Settings:
You can disable updates on Windows 10 from the settings of your device and for this, you need to follow the steps given below:
Disable all updates:
Go to Settings and then Update and Security
Open Windows Update
Click on Advanced options
Now under the "pause updates" choose "Pause until" drop-down and then select the time period for which you want to disable the automatic updates.

This way you can temporarily stop the automatic updates for a specified time period.
Disable Security Updates:
Go to the Settings menu
Then, choose Update and Security followed by Windows update
Next, choose the Advanced option
Now in the "Pause updates" select the number of days to specify the time for which you want to control the updates

Disable automatic update from Group Policy:
Go to the Start menu
Search for "gpedit.msc" and select the "Group Policy Editor" option.
Navigate to the following path:
"Computer Configuration\Administrative Templates\Windows Components\Windows Update"Select Configure Automatic updates policy by double-clicking on it.

5. Now click on Disabled option to stop the policy

6. Click Apply and then OK.
Disable automatic updates using Registry
First Open the Start menu on your device.
Look for "Regedit" and select the top-most result to open the Registry
Navigate to the following path:
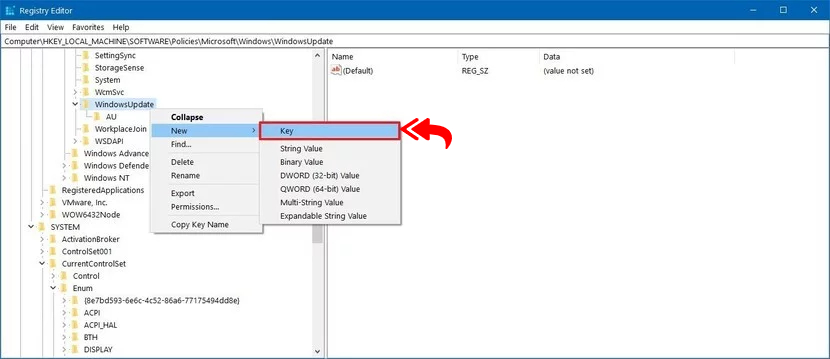
HKEY_LOCAL_MACHINE\SOFTWARE\Policies\Microsoft\WindowsNow on the Windows (folder) click right and, select New,
Then choose the Key option.

6. Rename the new key as WindowsUpdate and hit the Enter button.
7. Open the newly created key and then select New. then click on the Key option.
8. Name this key as AU and hit Enter
9. Right-click on the right side of the window and then choose New.
10. Click on DWORD (32-bit) Value
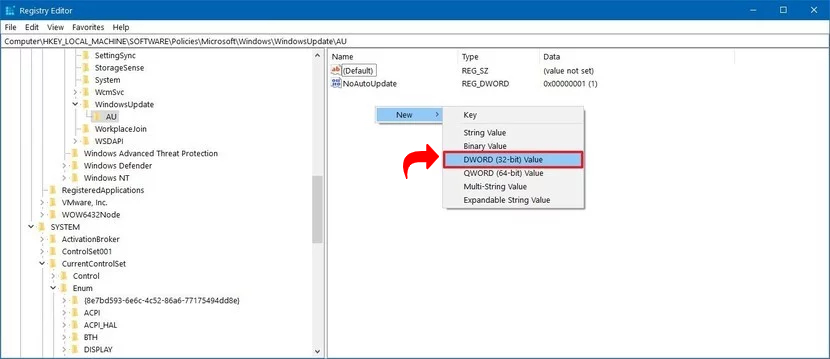
11. Now Name this key as NoAutoUpdate and press Enter.
12. Change the value of the newly created key from 0 to 1.

13. Click OK to complete the process.
14. Restart your device.
These were the different ways using which you can stop the automatic updates on your Windows -10 based device and run the updates whenever you are comfortable. If you are not tech-savvy, you may take help from the manufacturer's official help center.
I hope this guide helpful to you! If you want to learn more about how to fix its wsappx high disk usage issue? Then read this related post.